Voiceover
Recording Clean Voiceover at Home
A clear voiceover comes from three things: a close microphone, a room that does not ring, and a level that never clips. None of them requires a studio.
In this guide
Distance decides almost everything
The single biggest improvement available to any home recording is moving the microphone closer. Doubling the distance reduces the direct sound while the room reflections stay the same, so the recording becomes noticeably more hollow.
Aim for a hand span between the mouth and the microphone, slightly off-axis so breath and plosive sounds do not hit the capsule directly. Use a pop filter or a foam windscreen if you have one.
Making the room behave
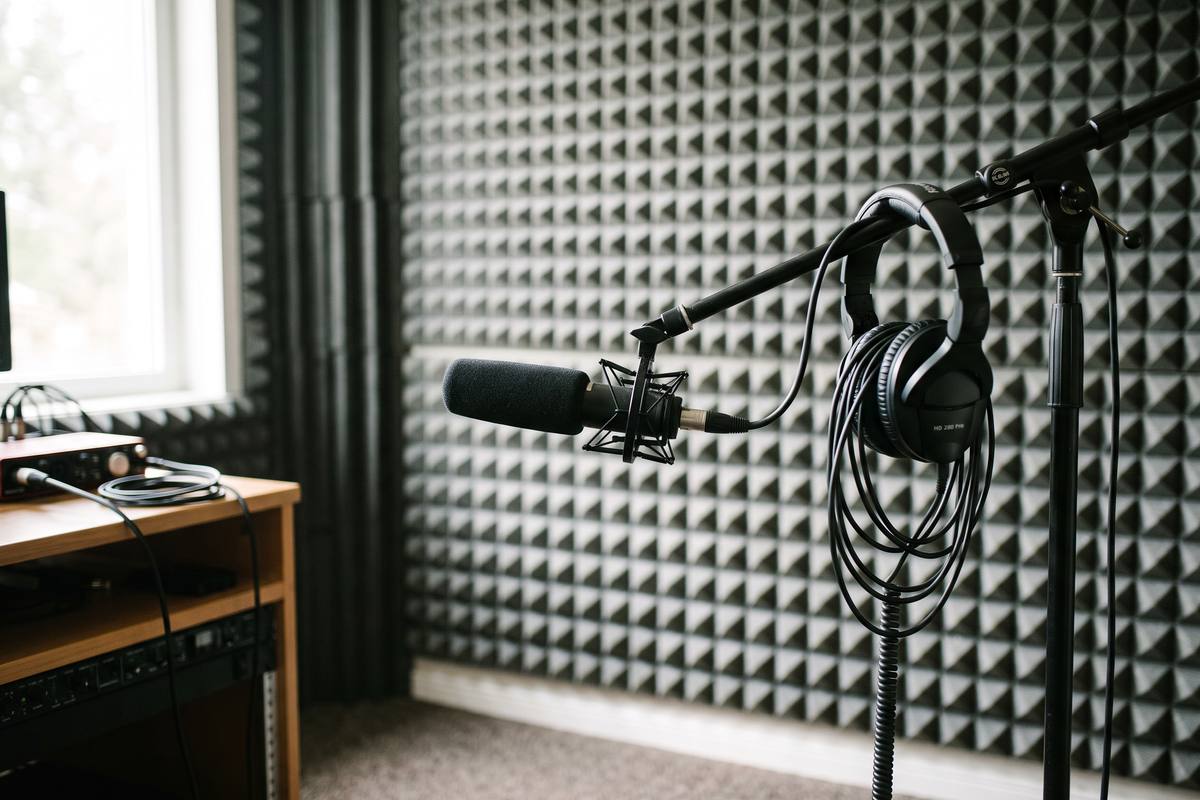
Hard parallel surfaces create the boxy sound that makes home recordings recognisable. You do not need to treat the room, only to interrupt those reflections around the microphone.
Record facing a soft surface — a duvet, a curtain, a full bookshelf — and keep away from bare walls and large windows. A rug underfoot helps more than most people expect.
- Face a soft surface while speaking
- Stay at least a metre from bare walls and glass
- Add a rug if the floor is hard
- Avoid recording in kitchens and bathrooms
Setting the level
Set the input gain so that normal speech peaks well below the maximum, leaving room for louder words. Clipping cannot be repaired, while a quiet recording can usually be raised afterwards with a small increase in noise.
Speak a test sentence at the volume you intend to use for the whole recording, and check the meter. Then keep that level fixed: changing gain mid-session creates steps in the background noise that are very hard to hide.
Editing the recording
Work in this order: reduce noise slightly, remove breaths that interrupt meaning, then level the volume across the whole take. Compressing before cleaning the noise simply makes the noise louder.
Read the finished voiceover aloud against the picture before publishing. Sentences that look fine on a page often need shortening once they have to fit a shot that is already cut.
Key takeaways
- Move the microphone to about a hand span from the mouth, slightly off-axis.
- Face a soft surface and stay away from bare walls and windows.
- Set gain for a comfortable peak and never change it mid-recording.
- Clean noise before compressing, and always record room ambience first.
CutPoint Collective editorial teamWritten by sound editors who work on short-form video daily, and reviewed on phone speakers before any guide is published.
Can a phone record a usable voiceover?
Yes, with the phone close and a quiet room. Use a separate microphone if you can, but distance and the room matter more than the device.
How do I stop plosive sounds?
Angle the microphone slightly off-axis and speak just past it rather than directly into it. A foam windscreen helps as well.
Should I record the whole script in one take?
Record in short paragraphs and keep the best version of each. Editing from paragraphs is far easier than repairing a single long take.